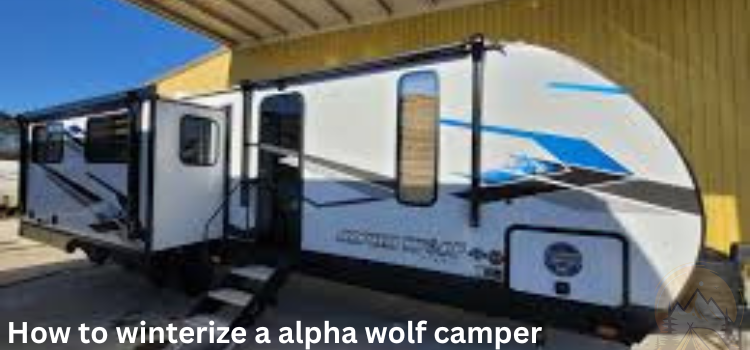
Are you ready to hit the open road and your next camping adventure? Before you do, it’s important to ensure that your camper is in tip-top shape. One important step in preparing your camper for the journey ahead is flushing out the antifreeze that protected it during those cold winter months.
In this blog post, we will guide you through the process of how to flush antifreeze from camper, so you can enjoy worry-free travels with peace of mind. Whether you’re a seasoned camper or new to the world of RV, follow our simple steps and get ready to say goodbye for all. Let’s dive in and learn how to flush antifreeze from your beloved motorhome.
Why is it important to flush antifreeze from a camper?
Why is it important to flush antifreeze from a camper? Flushing antifreeze from your camper is important for maintaining the overall health and functionality of your vehicle. Antifreeze, also known as coolant, plays a vital role in regulating engine temperature and preventing freezing or overheating during extreme weather conditions.
Over time, the antifreeze can become dirty with debris, rust particles, or other substances that may hinder its effectiveness. If left unchecked, these contaminants can damage the cooling system and cause damage to various components such as the heat source or water pump.
By flushing out the old antifreeze and replacing it with fresh coolant, you ensure optimal performance and prevent potential issues down the line. Additionally, flushing allows you to inspect the system for any leaks or signs of wear that may require attention.
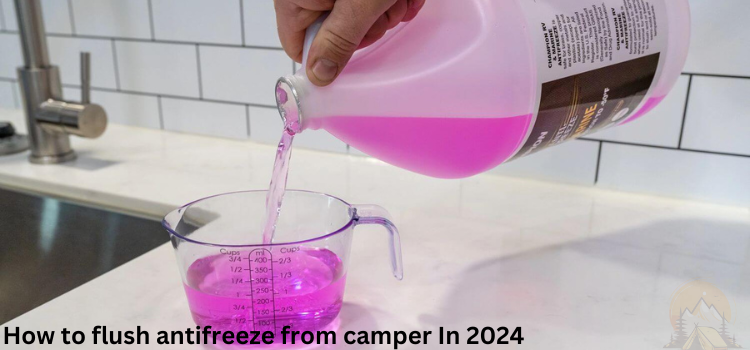
Tools and materials needed for the process:
By gathering these tools and materials beforehand, you’ll be well prepared to flush out the antifreeze from your camper efficiently and effectively. Remember, proper maintenance ensures that your camper remains in top condition for all your future adventures.
RV Antifreeze:
Make sure to choose a non-toxic antifreeze specifically designed for recreational vehicles.
Water Hose:
A hose with good water pressure is essential for thoroughly rinsing out the system.
Wrench or Pliers:
You may need these tools to remove any caps or plugs on your camper’s plumbing lines.
Bucket or Container:
Have a container ready to collect the old antifreeze as you drain it from the system.
Safety Gear:
It’s important to protect yourself during this process by wearing gloves and safety goggles.
Step-by-step guide on how to flush antifreeze from camper:
By following these simple steps, you’ll be able to successfully flush out leftover antifreeze from your camper’s plumbing system while ensuring that everything flows smoothly during future camping adventures.
Draining the water tanks and pipes
Begin by locating the drain valves for your camper’s water tanks. These are usually found underneath the vehicle or in a compartment. Open the valves to release any remaining antifreeze from the system. Next, open all tap inside your camper, including showerheads and outdoor showers, to allow any remaining antifreeze to flow out.
Flushing the system with clean water
Connect a fresh-water hose to an available external water source or use your within freshwater tank if it is clean and ready for use. Turn on each tap one at a time, allowing the clean water to flush through the entire system. Keep flushing until there are no examines of pink antifreeze visible.
Properly disposing of the old antifreeze
It’s important to dispose of used antifreeze responsibly. Check local regulations regarding disposal methods in your area. One option is taking it to an authorized recycling center where they can properly handle and recycle it.
Refilling the system with clean water
Once you have thoroughly flushed out all traces of antifreeze from your camper’s plumbing system, close all tap. Fill up your freshwater tank or connect back to an external source and turn on each tap again briefly to ensure that only clear water is flowing through.
Adding a freshwater tank sanitizer
To maintain cleanliness in your camper’s freshwater tank, consider adding a sanitizing solution recommended by your manufacturer or camping supply store. Follow their instructions carefully when using these products as they will help eliminate any bacteria buildup within your tank.
Tips and tricks for a successful flush:
By following these tips and tricks, you can ensure that your camper is free from antifreeze buildup and ready for your next adventure on the road.
Use the right tools:
Invest in a quality RV water pump converter kit or a water tank cleaning wand specifically designed for flushing out antifreeze.
Follow manufacturer’s instructions:
Consult your camper’s manual or reach out to the manufacturer for specific guidelines on how to flush antifreeze effectively.
Dilute with clean water:
When flushing the system, mix equal parts of clean water with antifreeze remainders. This will help dilute the solution and remove any remaining traces.
Flush all lines thoroughly:
Run each tap, showerhead, toilet, and outdoor sprayer until clear water flows consistently without any signs of pinkish coloration.
Don’t forget about the hot water heater:
Drain and flush your hot water heater separately as per the manufacturer’s recommendations to eliminate any lingering antifreeze.
Common mistakes to avoid during the process:
By avoiding these common mistakes, you can ensure a successful flush without any unnecessary headaches or damage to your camper. Take your time, follow safety protocols, dispose of waste responsibly, and always refer back to manufacturer guidelines for optimal results.
Rushing the process:
One of the biggest mistakes people make is rushing through the flush process. It may seem like a simple task, but taking your time will ensure that all of the old antifreeze is properly drained out.
Forgetting safety precautions:
Flushing antifreeze involves working with chemicals and potentially hot fluids. Always wear protective gloves and eyewear, and be cautious when handling any equipment or tools.
Neglecting proper disposal:
Antifreeze is toxic, so you must dispose of it properly or flush RV water lines. Many auto parts stores offer recycling programs for used antifreeze, so be sure to check if there’s one near you.
Failing to follow manufacturer guidelines:
Every camper may have specific instructions for flushing its antifreeze system. Make sure to consult your owner’s manual or contact the manufacturer for guidance on how best to complete this process.
Benefits of regularly flushing antifreeze from a camper:
By following these tips and tricks for a successful flush while avoiding common mistakes along the way, you can enjoy all these benefits that come with regularly flushing antifreeze from your camper.
Prevents Corrosion:
Over time, antifreeze can break down and become corrosive, leading to damage in the cooling system. Flushing out old antifreeze helps remove these harmful chemicals and prevents corrosion from occurring.
Maintains Cooling Efficiency:
Fresh coolant allows for better heat transfer, ensuring that your engine stays at a safe operating temperature during long trips or hot weather conditions.
Extends Engine Life:
By preventing overheating and maintaining proper oiling within the engine, regular flushing of antifreeze helps extend its lifespan, reducing the risk of costly repairs.
Protects Against Freezing:
Flushing out old antifreeze ensures you have a fresh supply to protect against freezing temperatures during winter months when not using your camper regularly.
Improves Fuel Efficiency:
A properly functioning cooling system thanks to regular antifreeze flushes can contribute to improved fuel efficiency by reducing strain on the engine.
Alternative methods for flushing antifreeze from a camper:
When it comes to flushing antifreeze from your camper, there are a few alternative methods you can try. One option is using compressed air to blow out the lines. This involves attaching an air compressor to the city water inlet and blowing air through until all the antifreeze has been forced out. Just be sure to set your compressor pressure at a safe level.
Another method is utilizing RV antifreeze bypass kits. These kits allow you to bypass certain sections of your plumbing system, so you only need to flush out specific areas, saving time and effort.
If you’re looking for a more eco-friendly approach, consider using vinegar and water mixture as a natural flush solution. Simply mix equal parts of white vinegar and water, then run it through your plumbing system like regular water. The acidity in vinegar helps break down any residue left by the antifreeze.
Maintenance tips for preventing future build-up of antifreeze:
By following these maintenance tips, you’ll ensure that your camper’s cooling system remains clean and efficient, reducing the risk of future antifreeze build-up and potential damage down the road.
Regularly check and replace coolant:
One of the most important maintenance tips is to regularly check your coolant levels and replace it as needed. This will help prevent any build-up of old or contaminated antifreeze in your camper’s system.
Use distilled water when mixing coolant:
When adding new coolant to your camper, be sure to use shortened water instead of tap water. Tap water can contain minerals that can contribute to sand buildup in the cooling system over time.
Perform regular flushes:
Flushing out the entire cooling system at least once a year is important for preventing any residual antifreeze from building up and causing issues down the line.
Inspect hoses and clamps:
It’s essential to inspect all hoses and clamps connected to your camper’s cooling system regularly. Look for signs of wear, cracks, or leaks, as these can lead to fluid loss or contamination.
Keep an eye on temperature gauge:
Pay attention to your camper’s temperature measure while driving or sitting around for extended periods. If you notice any sudden spikes or fluctuations in temperature, it could indicate a problem with your cooling system that needs immediate attention.
Conclusion
Flushing antifreeze from your camper is an important step in preparing it for the upcoming camping season. By following these steps and using the right tools, you can effectively remove any old antifreeze and ensure that your water system is clean and safe to use. Don’t forget to properly dispose of the used antifreeze as per local regulations. With a little effort, you can have peace of mind knowing that your camper’s water system is ready for all your future adventures.
FAQS:
Can you flush RV antifreeze down the toilet?
To leave a tiny amount in your black tank, you can also add another two to four quarts to your RV’s toilet and flush it. By doing this, you can keep leftover waste from freezing and avoid having to clear your black tank in the spring.
Will water wash away antifreeze?
Antifreeze dissolves in water. The stain will release from the concrete and dissolve in the water if the region is made more moist. To soften the stain, keep it moist and let it soak.
How much RV antifreeze do I need?
The amount of non-toxic RV antifreeze needed is usually two to three gallons. The length and configuration of your RV’s plumbing lines determine the precise amount.

